
In this example, we'll :
The goal is to rescue a Fedora install that picked the wrong driver, or is trying to use the wrong driver by default. typical symptoms are a black screen during the boot sequence, a distorted and unusable graphical display, or a display that starts but locks almost immediately. We want to avoid switching to graphical mode at any point in the process until *after* we switch to the vesa driver. The vesa driver is low performance but fairly safe.
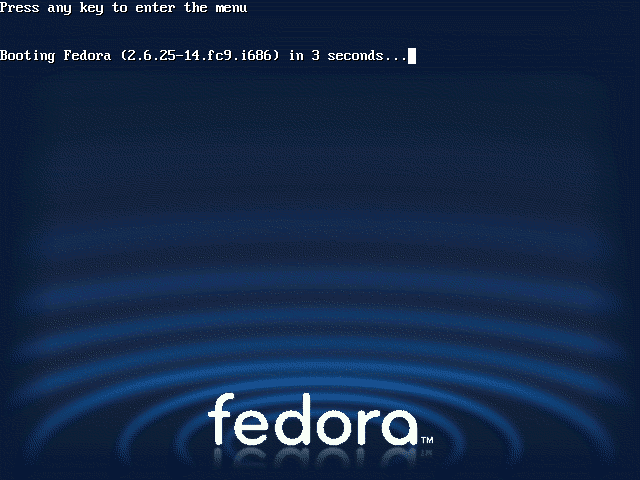
The splash screen. Hit any key (e.g. spacebar) to stop the timeout and see the menu options.
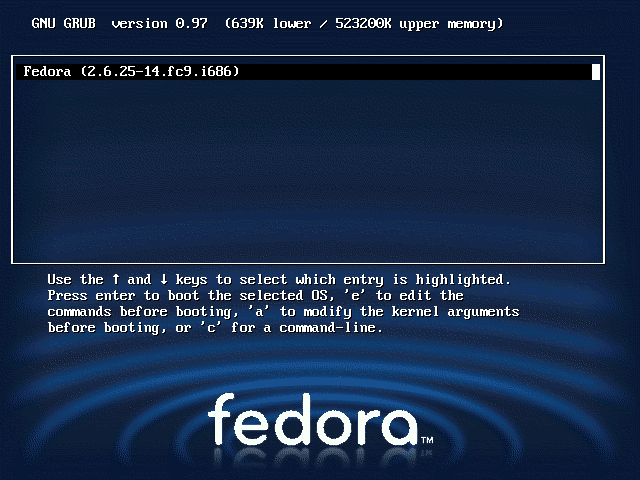
The menu options. Use the up/down arrows to pick an option, then type the 'e' key to edit the boot entries. In this case there is only one option.
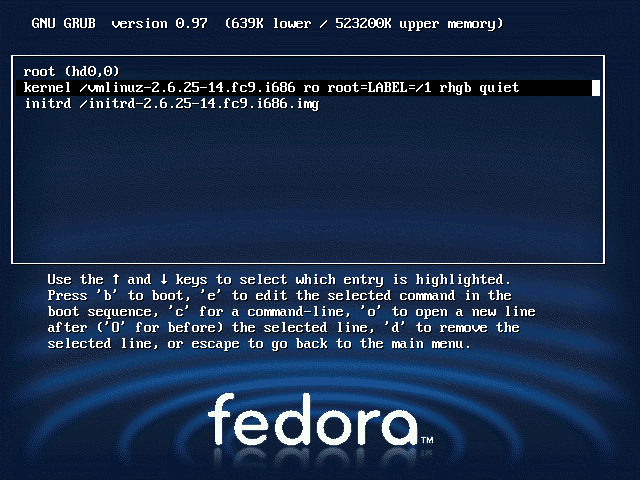
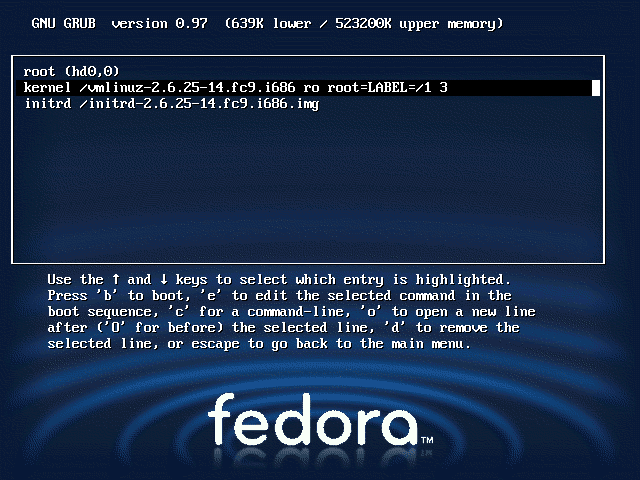
The boot entries. Use the up/down arrows to pick the line starting with 'kernel', then type the 'e' key to edit the kernel line.
The kernel line. Use the arrow keys and keyboard to remove the 'quiet' and 'rhgb' options, and add the number '3'. This disables a number of graphical switches Fedora does, enables more informational messages, and boots your system into a text login state. Finally press <enter> to return to the boot entries. Note : your kernel line might have a glob of 'UUID=' text. The options to edit are after that mess.
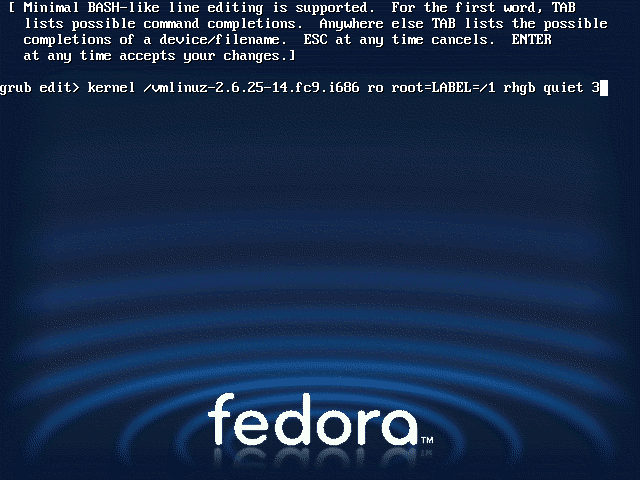
After the edit. The <enter> key finalizes the edit.
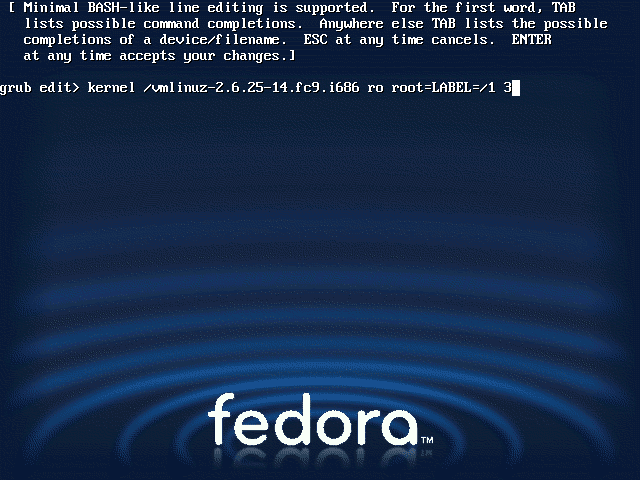
Boot the entry. Type 'b' to boot the kernel.
The boot sequence runs...
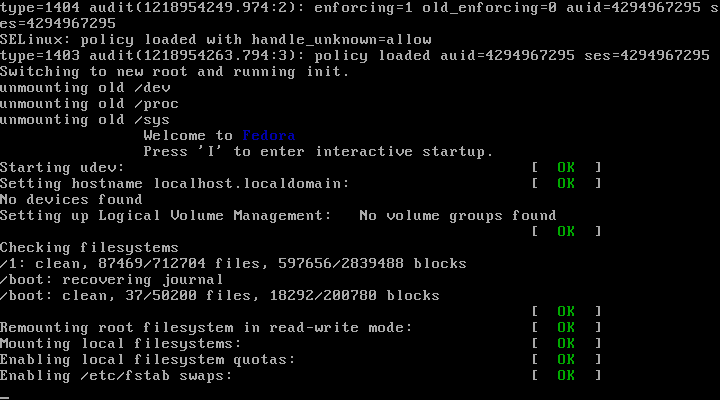
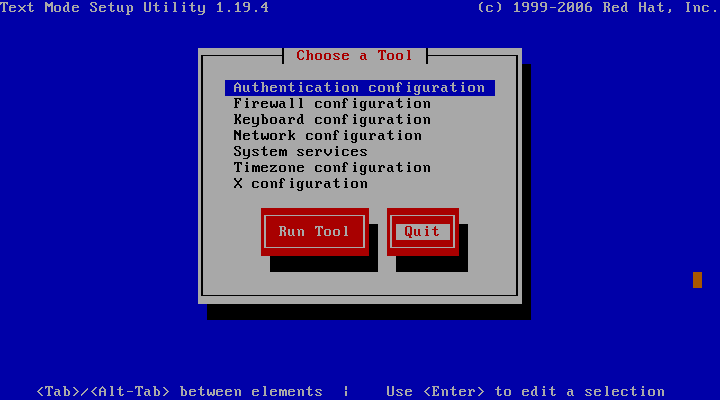
You might see either a login: prompt or the 'firstboot' menu. If you see the 'firstboot' menu (shown), use the <tab> key to navigate to the 'Quit' option and press the <enter> key. This will take you to the login: prompt.
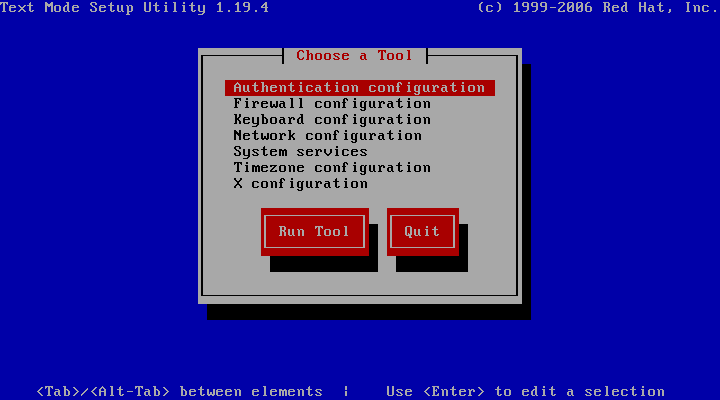
And quitting firstboot
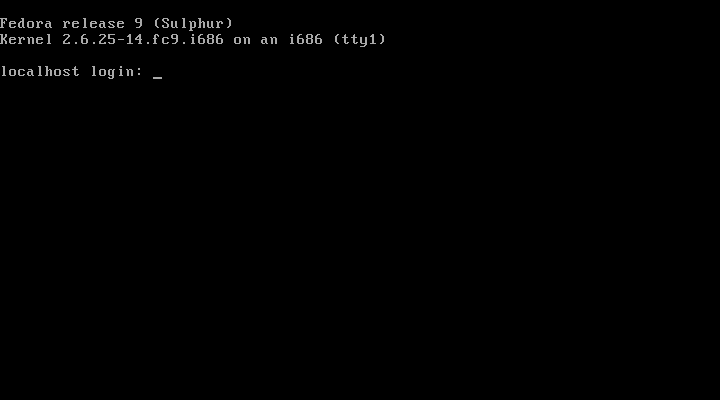
The login prompt. Enter the root user name and the password to get to a command shell.
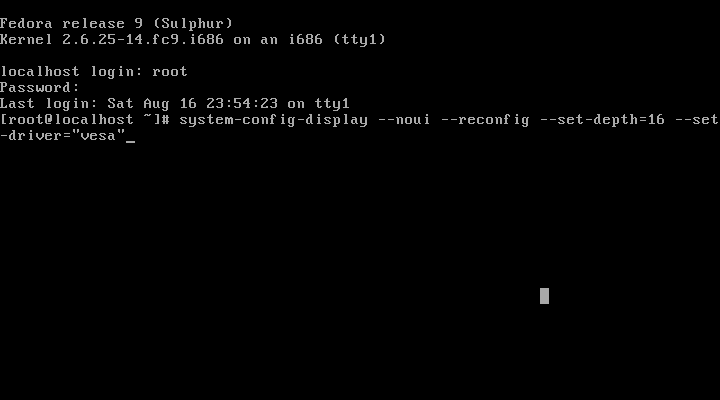
Once you have the '#' prompt, indicating you are root, run the command :
system-config-display --noui --reconfig --set-depth=16 --set-driver=vesa
This launches the configuration utility but not in GUI mode. The goal is to avoid Fedora trying to switch the machine into graphics mode and causing a crash. By the way, this might be a good time to run 'yum update' to bring your machine up to the latest patch set. Note that you might have to reboot and start over if the kernel changes.
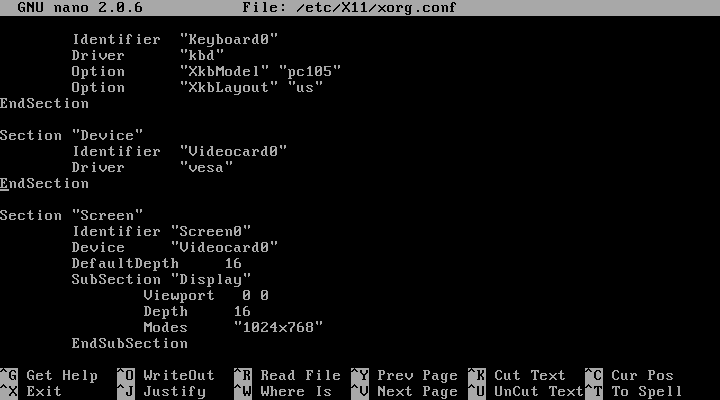
And since the --set-resolution option doesn't work, and the depth 24 is still there, we use the 'nano' editor to fix this. Note I've scrolled with the arrow keys to the end of the file. The commands are all listed on the display.
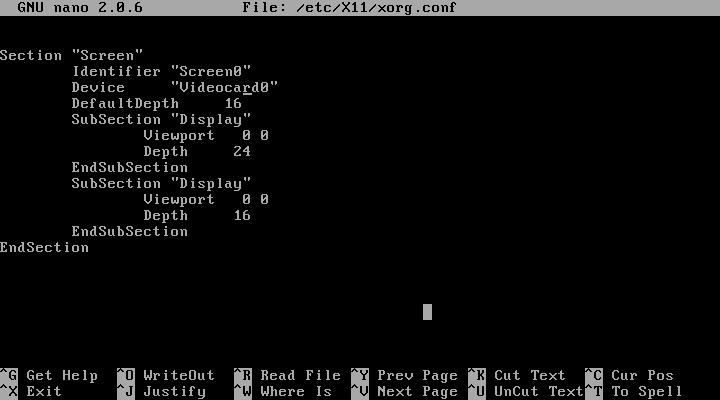
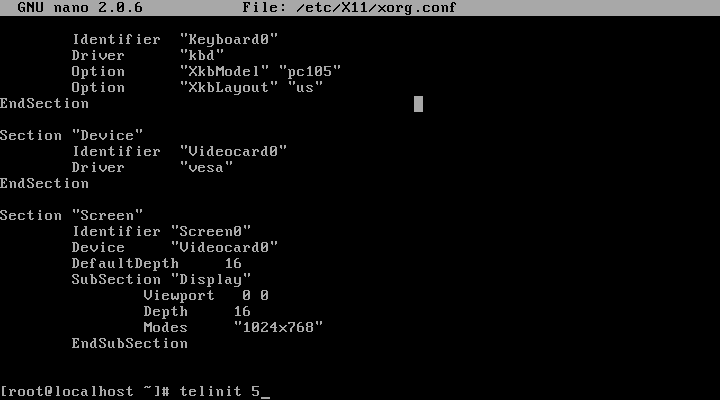
And here is the fixed version with the 24 bit depth gone and the 1024x768 mode added.
After you quit nano, you can switch to runlevel 5 (Graphical Desktop Mode) with the 'telinit 5' command
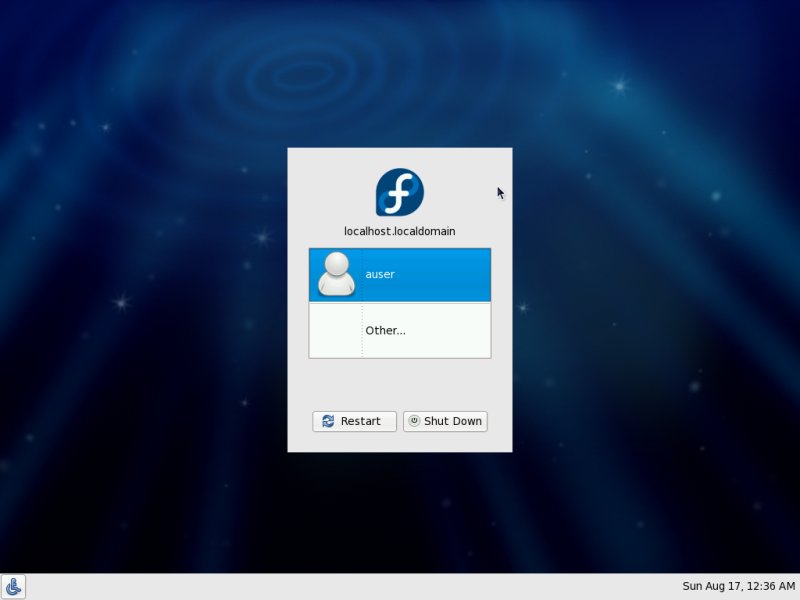
Hopefully you will see the Gnome Greeter for graphical logins. Click your user name and enter your password
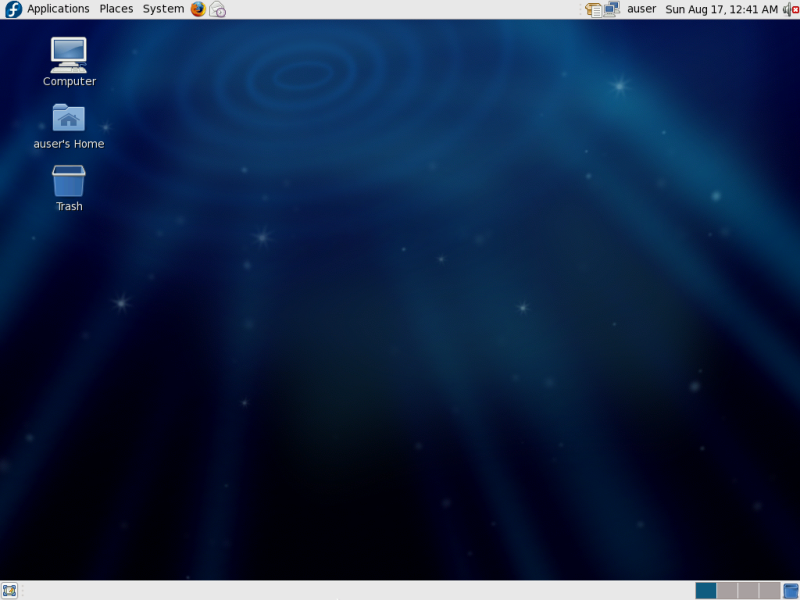
Here is the desktop after we login
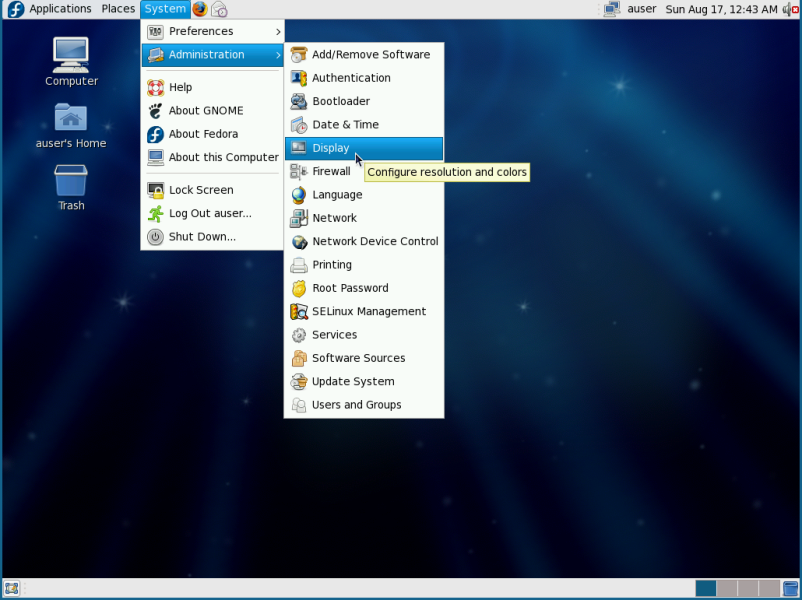
Now we configure the GUI via the menu option 'System->Administration->Display'
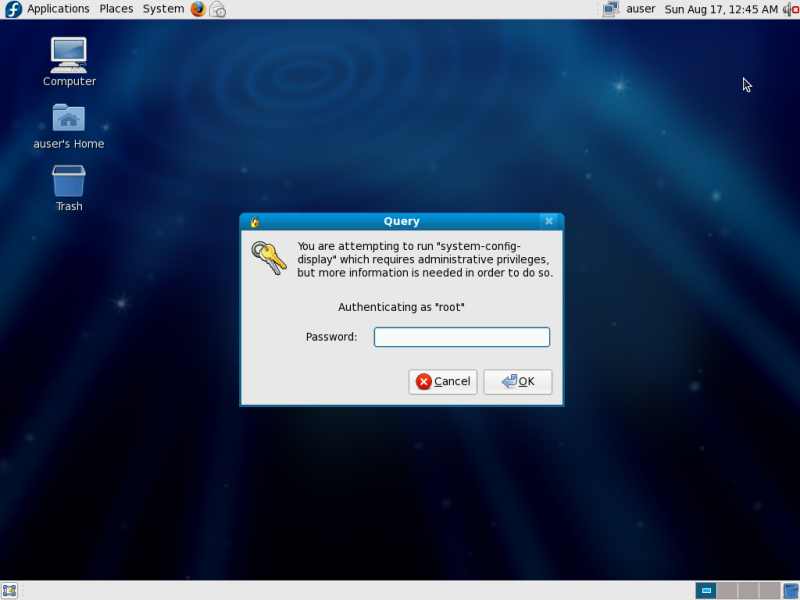
Enter the root password
And there are a variety of choices in the tabs for Monitors, Video Cards, Screen Depth and Resolution.
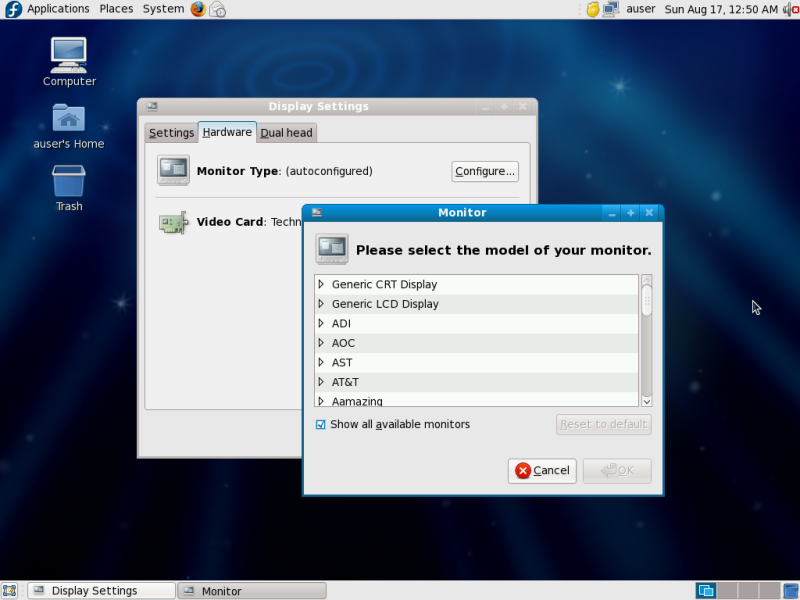
Choose wisely, or you'll have to start over at the top of the page!